How to fit weatherboard cladding
The installation of Cedral weatherboard cladding is very similar to the method explained further down, with some key differences and potential complications.
The cladding battens are much larger to allow for increased airflow, and must be fitted a set distance apart and screwed in a certain place to prevent the boards from rattling in strong wind. A DPC membrane must also be used on the corners and joints in order to prevent water damage to the weatherboard cladding.
These instructions are often overlooked by unqualified fitters, and when this cladding is not fitted by a Cedral installer, moisture often ends up trapped behind the weatherboards. This moisture is then absorbed by the cladding and eventually leads to efflorescence, staining and peeling paint due to damp conditions.
The only way to fix Cedral weatherboard cladding to which this has occurred is to take it all down and start again, this time with an experienced Cedral installer like ourselves.
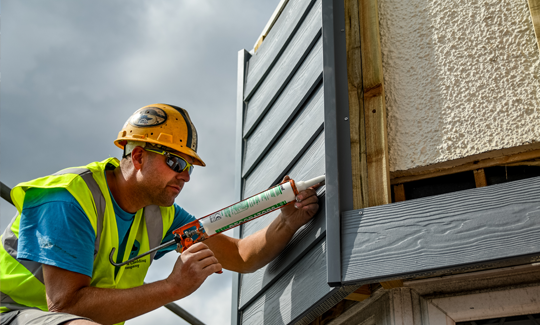
Affordable Cedral Cladding
From
£900 + vat
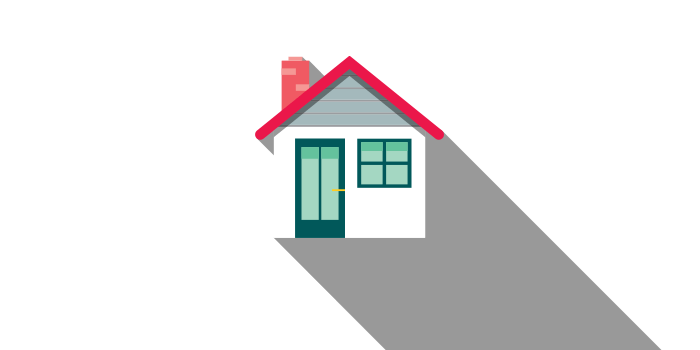
Cladding for your gable from £900+vat
From
£1300 + vat
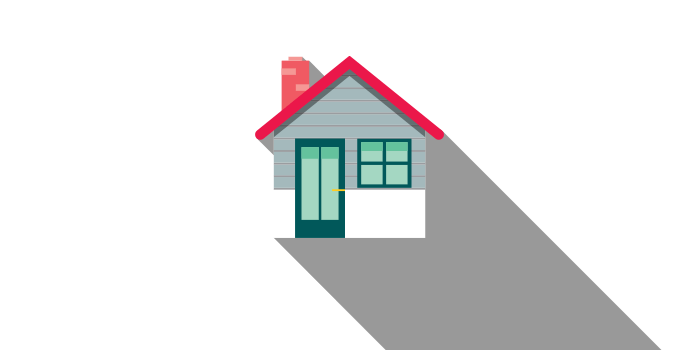
Cladding for your gable and mid-section from £1300+vat
From
£1900 + vat
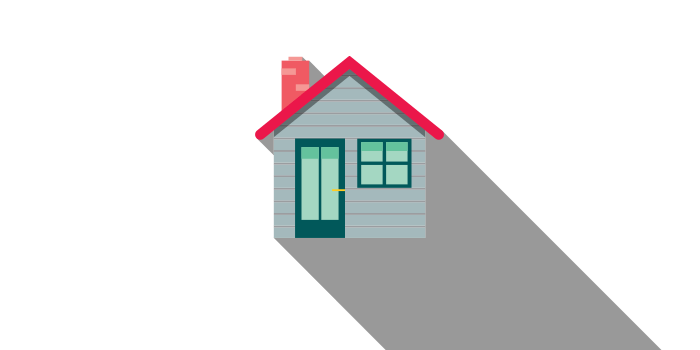
Cladding for front of your home from £1900+vat
10 years trading & more than 5000 happy customers
Book a Free Consultation
Ready to take your home to the next level with regards to efficiency or style?
Your Local Home Improvement Specialists In Dorset and Hampshire
The Gutter and Cladding Company is a family run business keeping your property dry, warm and stylish since 1997 where quality, professionalism and customer satisfaction come first. We are a team of home improvement experts to enhance the beauty, comfort and energy efficiency of your home. We have a range of our renowned services, Cladding, Guttering, Fascias, Soffits and proudly offering our new service of premium Windows and Doors installations. We look forward to helping you with your home improvements journey.
Please watch our video to hear from Simon the director
To find out more about our finance options click here

Energy Efficient Weatherboard Cladding
Weatherboard cladding is an extremely low maintenance and durable solution for those wanting to improve the appearance and efficiency of their home. With 21 colours to choose from, you can truly set your home apart from the rest.
With each cladding project you can upgrade toYBS SuperQuilt insulation to ensure complete energy efficiency and value for money. This extra layer for your home helps to keep the warm air in and the cold air out, providing a comfortable temperature throughout the year..
Want to find out more about the benefits of weatherboard cladding? Contact 01202 470044 today!
Fixing Guide For Weatherboard Cladding
Step 1 - Preparation
Install breather membrane to the substrate in accordance with membrane manufacturer’s recommendations. Install insect mesh profiles along base and top of area to be clad, the mesh position will determine the top and bottom line of the cladding battens, ensure the mesh is straight and level. Install vertical cladding battens to substrate between the top and bottom vent profiles ensuring battens are uniformly spaced at 400mm c/c, aligned and plumb and that screw heads are slightly below the surface to prevent interference with the cladding. Install starter trim at base of battens ensuring there is no gap between the starter trim and the insect mesh, note that the cladding will extend beyond the mesh/starter trim by approximately 15-25mm depending on the cladding type used. Fix part 1 of 2 Part Trim at top of battens ensuring there is no gap between the edge trim and the insect mesh. All trims should be screw fixed at minimum 250mm c/c or at each batten.
Step 2 - Install Edge Trims
Install Universal Edge Trims, Corner Trims and Joint Trims as required. Where 2 part trims are being used fix the first parts only; the second part of 2 part trims should not be cut yet, cut only the first part.
Step 3 - Fixing Boards
Install first cladding board to starter trim ensuring that the hook at the rear of the cladding panel is fully engaged in the starter trim, ensure that the starter trim and the first board are level as this will affect all of the boards that follow. Ensure the recommended expansion gap of 8mm is allowed for at all edge and joint trims, including at window and door openings when cutting boards. Cladding should be screw fixed at every batten and fixing screw should be driven flush into the fixing groove so that it does not interfere with the next board.
Step 4 - Finish Boards
Continue fitting the boards, ensuring that the hook at the rear of the cladding board is fully engaged down onto the previous board before screw fixing and regularly check that boards are still level as work proceeds. If the final (top) board is not a full board a packing piece will be required behind so that the face of the board is aligned with the boards beneath. Use either cladding off-cuts or timber trim as per cladding batten specification for packing out final board.
Step 5 - Finish 2-part Trims
Once all cladding boards are fixed in place cut and install second parts of 2 part trims to finish the installation.
Step 6 - Rain Protection
Where required, fit a cover strip or drip trim to prevent rain from entering the cavity at the top.
Cedral Weatherboard Cladding Colours
Earth Tones

C03 Grey Brown

C14 Atlas Brown
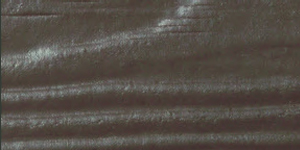
C55 Taupe

C61 Burnt Red
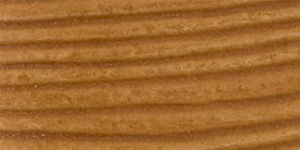
C104 Light Oak
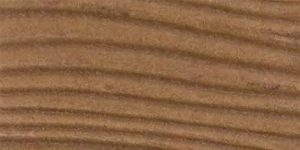
C105 Dark Oak
Forest Tones

C07 Cream White
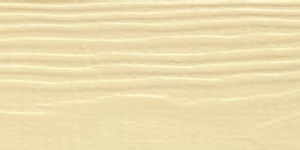
C02 Beige

C08 Sand Yellow

C57 Sage Green

C60 Forest Grey
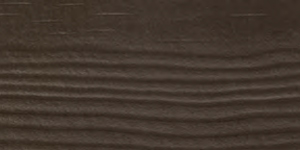
C04 Dark Brown
Mineral Tones

C01 White

C51 Silver Grey
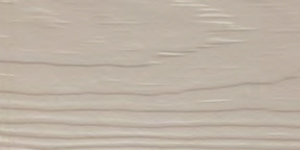
C05 Grey

C52 Pearl

C54 Pewter

C50 Black
Ocean Tones

C06 Grey Green

C10 Blue Grey

C62 Violet Blue

C15 Dark Grey

C18 Slate Grey


